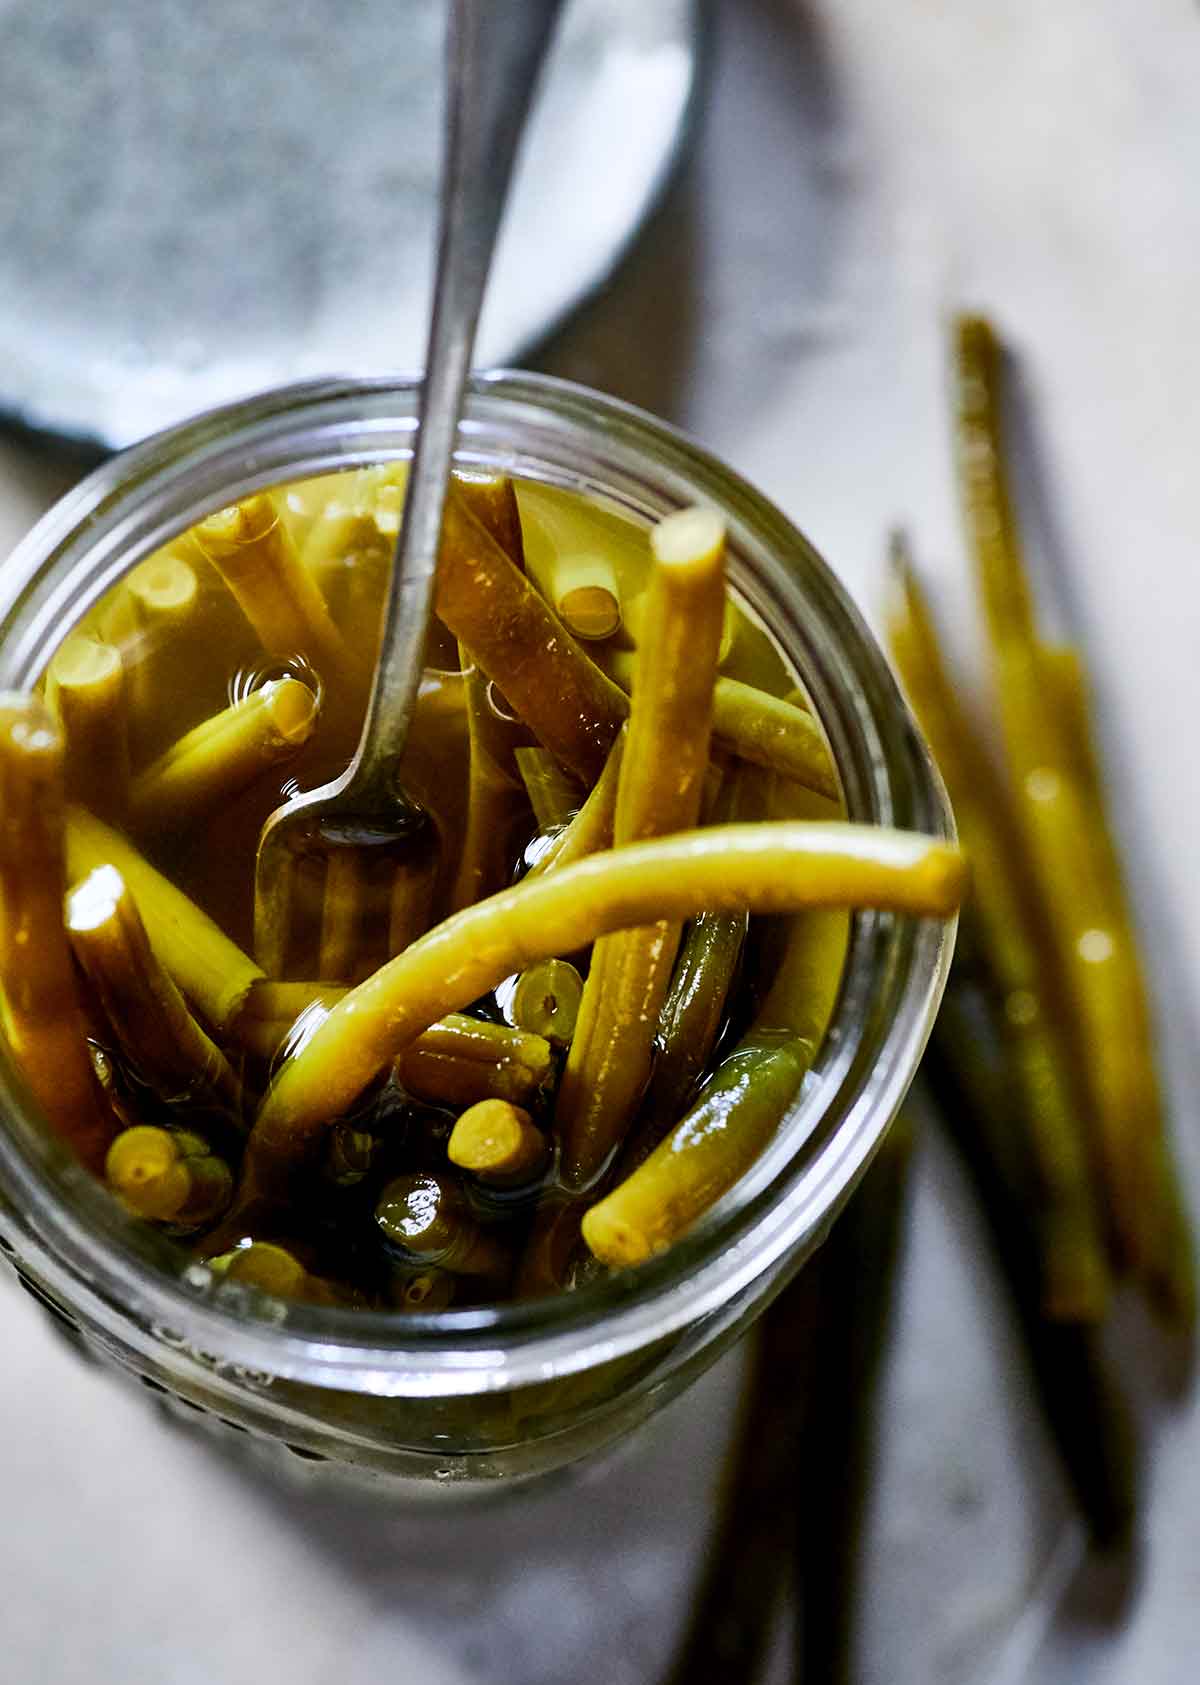
Dilly beans are a Southern favorite, but honestly, they’re at home anywhere. Garlicky, yes, but also flavored with celery seed, mustard seed, turmeric, red pepper flakes, bay leaves, and onions. They’re not too hot, sweet, or vinegary. Not at all. We think they taste like more.
Adapted from Sean Brock | South | Artisan, 2019
To celebrate a harvest is really what Southern food is to me, and that’s either eating the vegetables raw in the field, or cooking them for dinner or preserving them for the winter. That’s a product of hard work in the field, hard work in the kitchen but also hard work in carrying on a tradition, and preserving a tradition that is instrumental to life in the South.–Sean Brock
Dilly Beans


Equipment
-
Water bath canner
-
Three (1 quart | 946ml) canning jars with rings and lids, sterilized*
Ingredients
- 3 1/2 cups distilled white vinegar (5% acidity)
- 3 1/2 cups water
- 1/2 cup granulated sugar
- 1/4 cup Diamond Crystal brand kosher salt
- 3 tablespoons diced sweet onion (1/8 inch | 3 mm)
- 6 fresh bay leaves
- 1 tablespoon crushed red pepper flakes
- 1 1/4 teaspoons ground turmeric
- 1 teaspoon celery seeds
- 2 tablespoons dill seeds
- 1 1/2 teaspoons yellow mustard seeds
- 9 black peppercorns
- 3 garlic cloves peeled
- 9 large fresh dill sprigs
- 3 pounds fresh beans such as greasy, cut-short, half-runner, or Turkey Craw, washed, strings removed, and trimmed to fit the jars if necessary
Directions
- In a large, nonreactive saucepan over high heat, combine the vinegar, water, sugar, salt, onion, bay leaves, red pepper flakes, turmeric, and celery seeds and bring to a boil, stirring to dissolve the sugar and salt. Turn off the heat.
- Into each sterilized jar, put 2 teaspoons of the dill seeds, 1/2 teaspoon of the mustard seeds, 3 peppercorns, 1 garlic clove, and 3 dill sprigs. Fill the jars with the beans, standing them up vertically, and ladle over the hot pickling liquid, leaving a 1/2-inch (12-mm) headspace. Wipe the rims and threads clean. Place the lids and rings on the jars and finger-tighten the rings.
- Process the jars in a boiling-water bath for 13 minutes, adjusting for altitude if necessary. It's important that the jars seal properly and a vacuum forms. If any jars didn't seal, you must store them in the refrigerator.
☞TESTER TIP: Remove the bands from your jars before storing to prevent rust or mold from forming under the bands.
- Allow the beans to cure for 1 week before eating. Properly sealed, the beans will keep in a cool, dark place for up to 6 months. Refrigerate after opening.
Notes
*How do I sterilize jars for canning?
Fill a large canning pot fitted with a rack three-quarters full with water. Place your canning jars and rings in the pot and bring the water to a boil over high heat. When the water has come to a boil, set a timer for 5 minutes. Remove from the heat and cover the pot. Meanwhile, put the lids in a saucepan of hot water and heat until the water reaches 180°F (82°C). (Never boil the lids, because the sealant material may get damaged and then won’t produce a safe seal.) Remove from the heat and cover the pan. Lay a clean kitchen towel out on the counter or set out a wire rack. When you’re ready to fill the jars, using canning tongs, remove them from the pot and invert them onto the towel or rack. Leave them there for 1 minute, then turn them right side up and fill them. You want the jars to be hot when you put the food into them. Use tongs to remove the lids and rings and shake off the water before putting them on the jars.Show Nutrition
Originally published August 01, 2021