The hardest part of making butterscotch hard candy is waiting for it to cool. With a few tools and a few tips from me, champion of all things butterscotch, you’ll be making your own crunchy, buttery, hard to resist candy in no time!
If you’re into soft candies, you may like my chewy butterscotch candy recipe. And you can find all of my butterscotch recipes here.
This post contains affiliate links. As an Amazon Associate I earn from qualifying purchases. Your price is unaffected. For more information, please see our disclosure policy.
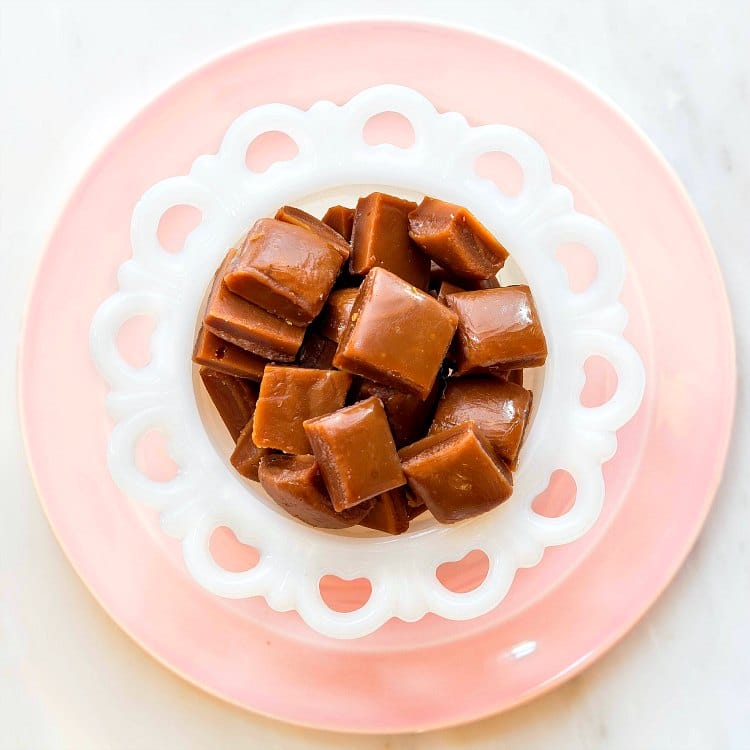
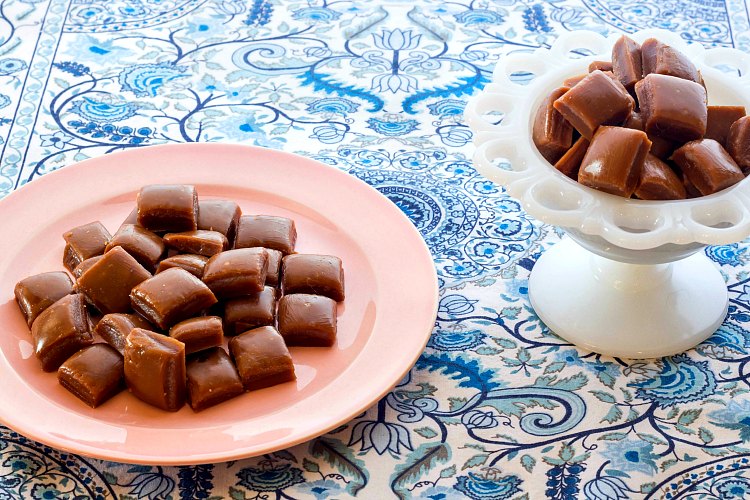
Butterscotch Candy
Y’all know I love me some butterscotch right? It runs a neck and neck race with caramel for my favorite flavor.
The problem is, most store-bought butterscotch just tastes like chemicals. Save me from boxed pudding and bright yellow ice cream sauce.
Real butterscotch should taste of deeply browned butter and sugar with a hint of molasses. It is magic.
Browned Butter + Caramelized Sugar + Molasses = Butterscotch
How to Make Butterscotch Hard Candy
This candy is not hard to make, whether you’re making soft candy or hard candy. But you do have to respect the sugar, because you’re working with a really hot–really hot–mixture. In fact, you’re going to cook it to 295F, so be careful.
Here’s the lowdown on how to make this old fashioned candy, y’all.
-
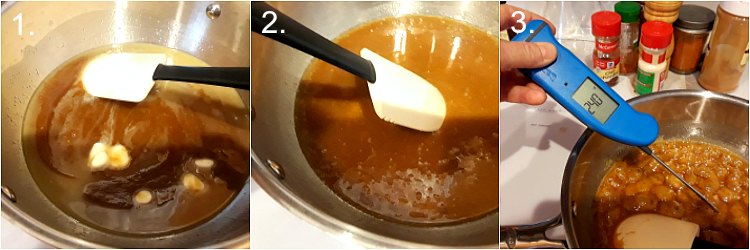
Mix all ingredients except the cream together in a heavy-bottomed saucepan. You can either add the butter first and wait until it is all melted before adding sugar, corn syrup, and salt, or you can cut the butter up into pieces and then cook together over medium-low heat, stirring occasionally, until the butter is all melted. Then turn up the heat.
-
Cook until you reach 250F. I encourage you to stir this candy and/or carefully swirl the pan while heating it up. The corn syrup will safeguard against crystallization when you stir (thanks, corn syrup), and the molasses in the brown sugar will be less likely to burn if you keep the mixture moving.
(Note my thermometer reads 240F. Sugar work is pretty precise, and I didn’t want to go over temp while trying to take a photo!)
-
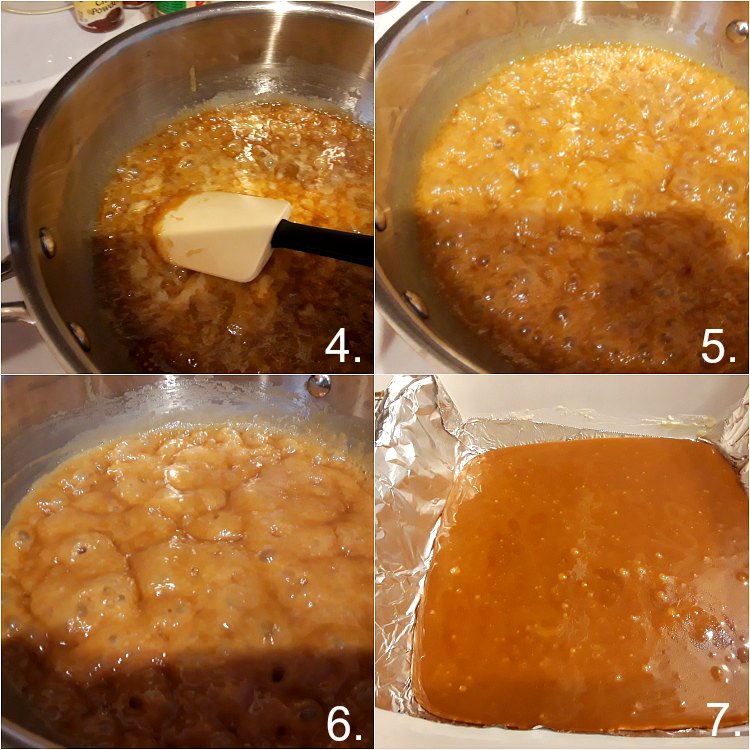
Add the cream, and continue cooking until the candy reaches 295-300F. Add the cream carefully, because the candy will hiss and spit and bubble up a bit when you add it. Stir it in well. The temperature will obviously go back down and the candy will thin out some. Keep stirring, heating, and taking its temperature until it reaches 295-300F.
Once it hits the magic temperature, pour the candy into the prepared pan and let cool for approximately 10 minutes.
-
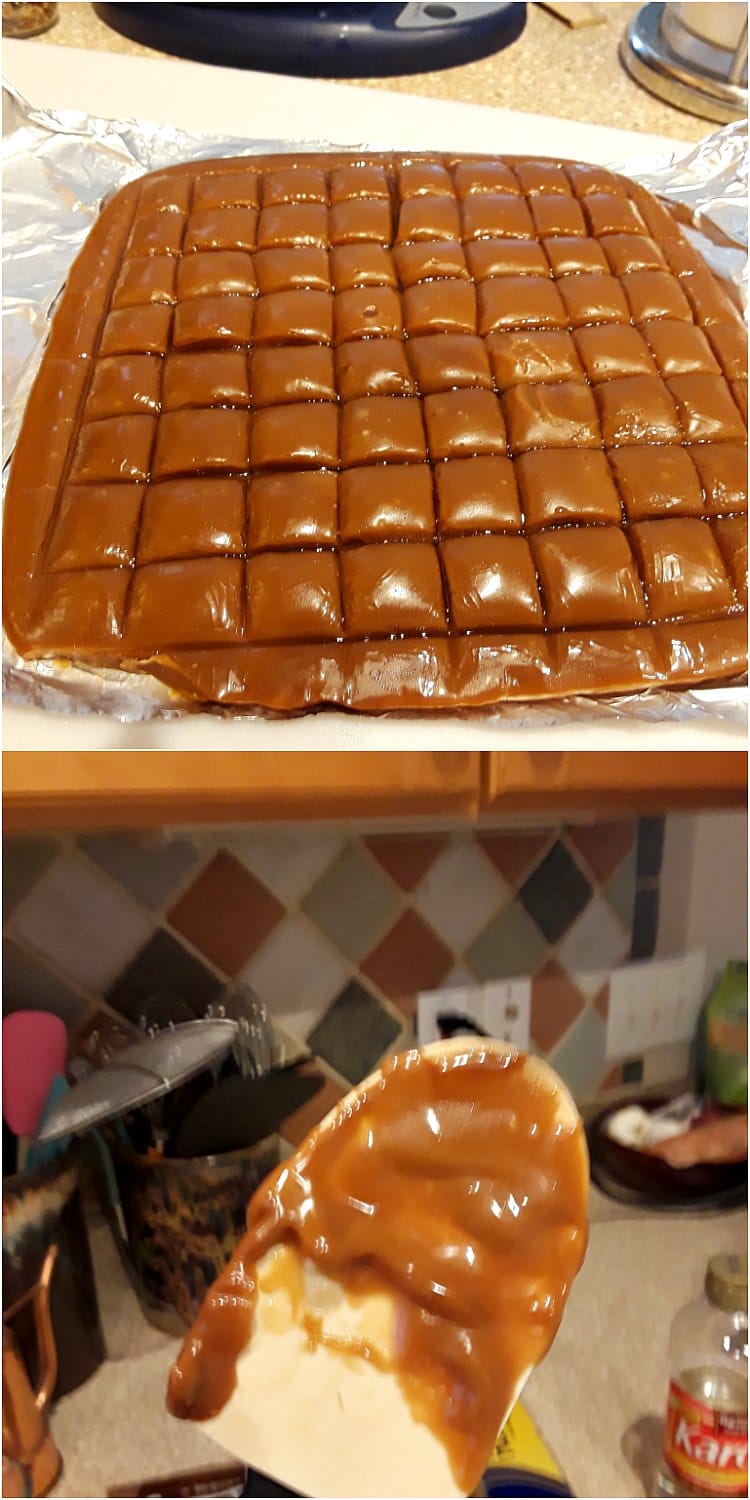
Remove from pan and score. Once the candy is cool enough to hold its shape but not hard, use the foil to lift the candy out of the pan and onto a cutting board.
Use a pizza wheel to score the candy about halfway through, and then let cool completely. If you have a lot of patience, let the candy sit out in a dry area for several hours before breaking it along the score marks.
Any candy stuck to your spatula and any edges that need to be cleaned up are there for the cook to enjoy!
High Altitude Adjustments
If you live reasonably close to sea level, you will be just fine following the Rules for temperature here, namely 295F as the finished temperature. But, if you live 1000, 2000, or more thousand feet above sea level, you will need to make some adjustments so you don’t end up overcooking your sugar.
Here’s the rule: reduce the target temperature by 1 degree for every degree below sea level boiling temperature of 212F.
Make Adjustments for your Elevation Like This:
- Take the temperature of your boiling water.
- Subtract 1 degree from the target temperature for every degree below 212F your water boils.
If your water boils at 208F, then you will have to stop cooking your sugar at 291F (4 degrees below 295F since your water boils at 4F below 212F).
For reference, I found this Altitude Conversion Chart in a booklet titled “The Art of Candy Making” from the USU Extension/Utah County in Provo, Utah.
Homemade Butterscotch Candy Q&A
Since not everyone makes homemade candy every day, I’m hoping this section will answer any questions you have. If not, please email me, and I’ll help!
You can make a chewy version of butterscotch candy using this recipe. The only difference is the final cooking temperature. For chewy candy, shoot for 250F as your final temperature rather than 295F.
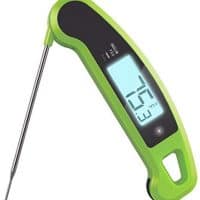
I have used both the clip-on and instant read thermometers when making candy, and while the clip-on stays in the pot the whole time, it can also get candy splashed up on the reading that can obscure the temperature. Plus when stirring, I often end up knocking into it.
For those reasons, I prefer to use an instant read thermometer and take the temperature frequently–usually once every minute or so, and more frequently as it gets closer to the target temperature.
In the case of hard candies, a pretty long time. I don’t have a definitive guide to how long it will keep, but if you keep it in a low-humidity environment (a freezer bag works just fine for this), it should last you a good 2-3 weeks. Although I’m pretty sure you’ll eat this stuff long before!
Sugar is an interesting ingredient. It behaves in different ways depending on how hot you cook it to begin with. Cook it too a low temperature (say below 240F), and it will stay liquid when cooled.
Cooking it to between 240-270 or so will yield various states of chewy sugar–thicker and stickier the higher you cook it. Once you reach the 270s to about 305F, it will cool to varying degrees of “hard,” from chewy hard to lollipop hard. For more information about the stages of sugar, see my Stages of Sugar chart.
Technically yes. You can continue cooking your recipe for chewy butterscotch until it reaches 295F.
In my chewy recipe, for example, there is a lot more molasses in it than is contained in the brown sugar in this recipe. And the more you cook molasses, the more distinct the molasses flavor.
So I would tweak most chewy recipes to make sure they contain less molasses before proceeding. Unless you like a really molasses-y flavor, in which case, carry on.
Hot sugar is hot, so if it gets on you, it will burn. You can lessen the risk by using a pot that is larger than you think it needs to be for the amount of sugar you’re cooking and using a long-handled wooden spoon or high heat resistant spatula for stirring. Never stir with a metal utensil. Since metal is conductive, the heat will travel up the handle. No fun.
Make candy on a dry day. Super moist, humid days and especially rainy days are not great times to make candy, and you run a higher risk of your candy getting large crystals in it that make it feel grainy in your mouth. The corn syrup in candy recipes helps to guard against crystallization, but still, make your candy on high-pressure days, not rainy, low-pressure days.
Rave Review
I sent a few pieces of the 4th and final round of butterscotch candy to my friend and food hero, Nathalie Dupree. She wrote me when she received it, and this is what she said:
Nathalie Dupree
Jenni, I received the butterscotch you sent me. I don’t know how you improved it. Crisp enough it barely sticks on teeth, doesn’t pull out fillings, and the flavor is deep and rich. Better than Werthers.
High praise, indeed, especially coming from a self-proclaimed huge butterscotch fan and one who has a recipe for said candy in her and Cynthia Graubart’s seminal Mastering the Art of Southern Cooking.
Now, before we get to the recipe, I want to make sure you exercise some candy-making safety. Here we go.
Candy Making Safety
To piggyback off of the “how to keep sugar from burning me” question, there are a couple of things to remember to be as safe as possible when making candy.
- Make sure there are no little kids or pets around. You don’t want to divide your attention between molten sugar and anything else.
- Have a bowl or small pitcher of ice water handy. If sugar does splash on your skin, immediately immerse the burned part in the water. Usually when it does splash, it’s just a little bit and in my experience, the damage has been minimal!
- Whatever you do, if you burn your finger on the sugar, don’t put it in your mouth. You’ll just end up with a burned finger and a burned mouth. Hence the bowl of ice water.
Tools for Candy Making
You will definitely need some specialized tools to make hard butterscotch candy or any type of candy. Most are not terribly expensive and will last you almost forever.
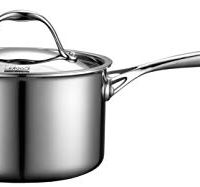
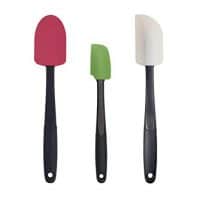
Of course you’ll need a heavy bottomed saucepan and at least one heat safe spatula.
Please make use of an instant read thermometer or a candy thermometer for accuracy. I know many people still want to use the ice water test because that’s what their mom or grandmother did, but trust me. If mom or grandma had access to an accurate thermometer, they’d have probably used it!
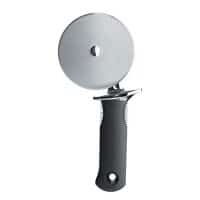
I like to use an oiled pizza wheel to score my candies. When making butterscotch, you don’t cut all the way through the candy. You score it (some say “scotch” it, which could be where the term “butterscotch” comes from in the first place).
Then, when the candy has cooled off, you break it along the score marks. Make these marks pretty deep–about halfway through the candy.
For the amount of candy this recipe makes, you’ll do well using an 8″ or 9″ square cake pan. I like to line my pans with non-stick foil for ease of lifting the candy out of the pan without anything sticking.
Other Candy Recipes You Might Enjoy
If you are a homemade candy fan, you might want to try your hand at some of these other candy recipes:
- Crunchy Butterfinger Candy Bars I tested this candy recipe 9 times to make sure I had it as “right” as I could get it. It’s one of the only crunchy Copycat Butterfinger recipes out there. Most are oddly soft and chewy.
- Bourbon Honeycomb Candy This old-fashioned candy is light and airy and barely tinged with bourbon flavor. I used a bourbon-infused honey to make it, but you can use regular honey, add in a touch of bourbon, or leave it out entirely
- Old-Time Simple Peanut Butter Candy Because sometimes you just want an old fashioned, comforting candy
- Homemade Butter Mints These mints are perfect for first-time candy makers because there is no cooking at all. If you can make frosting, you can make these mints!
I really hope you love this crunchy, buttery candy, you guys! If you make it, please share a photo with me, either in the PCO Facebook Group or on instagram by tagging @onlinepastrychef and using hashtag #pcorecipe. Thanks, and enjoy!
Butterscotch Hard Candy Recipe
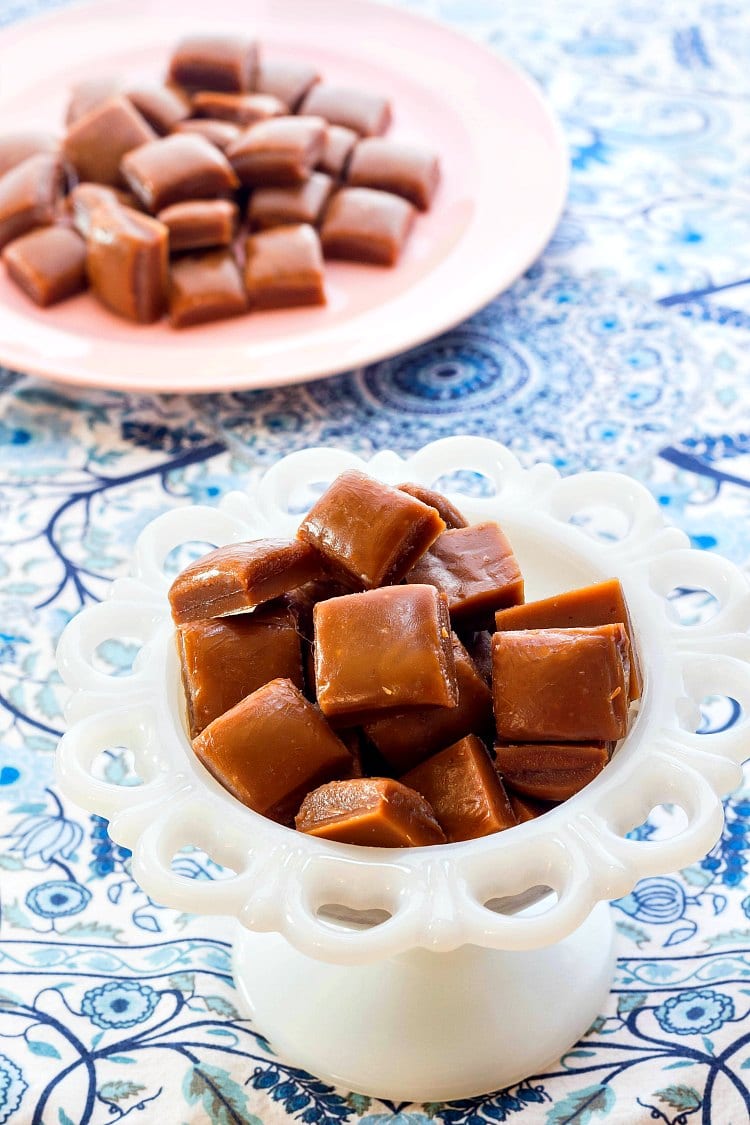
These butterscotch hard candies are crunchy-creamy and deeply flavorful. If you think you don't like butterscotch candy, this recipe might just make you change your mind! CAUTION: hard to stop eating. Enjoy responsibly! NOTE: All ingredients are by weight. I'll give you approximate cup measurements, but please buy a kitchen scale. You'll be glad you did.
Ingredients
- 5 oz (1 1/4 sticks or 10 Tablespoons) unsalted butter
- 4 oz (about 1/2 cup) granulated sugar
- 4 oz (about 1/2 cup, packed) dark brown sugar
- 1 oz (about 4 teaspoons) light corn syrup
- 1/2 teaspoon kosher salt (I used Mortons. If you use Diamond, you may need a touch more)
- 4 oz (1/2 cup) heavy cream
Instructions
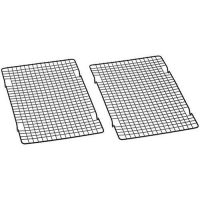
- Butter an 8" square metal pan with straight sides. Line with nonstick foil, pressing it down to smooth it out against the pan as much as you can. Put the pan on a cooling rack convenient to the stove.
- Cut the butter into small pieces and put in a heavy-bottomed pot over medium heat.
- Once the butter has melted, stir in the two sugars, corn syrup, and kosher salt. Stir well until mixture comes to a boil. Alternately stir with either a wooden spoon or a high heat spatula and swirl the pan to keep the mixture moving. SEE NOTES
- Either clip a candy thermometer onto the side of your pan or keep checking the temperature with an instant read thermometer. When the candy reaches 250F, add the heavy cream. The mixture will sputter some, so add it carefully and then stir it in well.
- Continue cooking the candy, stirring and swirling almost constantly until it reaches 295-297F.
- Carefully pour the candy into the prepared pan. You can use your spatula to gently help the last bit of the candy pour out, but don't scrape to clean the pot out.
- Allow the candy to cool for about 10 minutes. (If you use a smaller pan, it will take a few minutes longer. You want the candy to be pliable but still be able to hold its shape.
- Use the foil to ease the candy out of the pan and put it on a cutting board, foil and all.
- Peel the foil back from the sides of the candy and, using a pizza wheel, score the candy into 64 pieces in an 8 x 8 grid. You can run the wheel over your lines a few times. Try to make the score marks fairly deep--about halfway through the candy. A little butter will leak out in the score marks, but worry not. It will reabsorb once the candy has cooled completely and cured.
- Move the scored slab of candy back onto the cooling rack.
- Let the candy cool for about an hour or so until completely firm. Allow the candy to sit in a dry spot where nobody will bother it for several hours or overnight. Then break the candy into pieces along the score lines. It will be easy to break.
- Store candy in an airtight container at room temperature for up to a week or so.
Notes
A NOTE ABOUT STIRRING CANDY
Generally speaking, it's not good practice to stir candy as it cooks, but since this candy contains molasses, which has a lot of impurities in it, it will burn if you don't stir it pretty constantly. The corn syrup helps to guard against crystallization while your stir, and I've made it several times and have not had a problem.
Recommended Products
As an Amazon Associate and member of other affiliate programs, I earn from qualifying purchases.
Nutrition Information
Yield 32 Serving Size 1/32Amount Per Serving Calories 63Total Fat 5gSaturated Fat 3gTrans Fat 0gUnsaturated Fat 2gCholesterol 14mgSodium 37mgCarbohydrates 5gFiber 0gSugar 5gProtein 0g
Thanks for spending some time with me today, friends.
Enjoy the crunchy goodness, and no, you don’t have to share!
Take care, and have a lovely day.
The post Butterscotch Hard Candy Recipe appeared first on Pastry Chef Online.