#BBB Get Fancy with Decorative Scoring

Posted by admin on


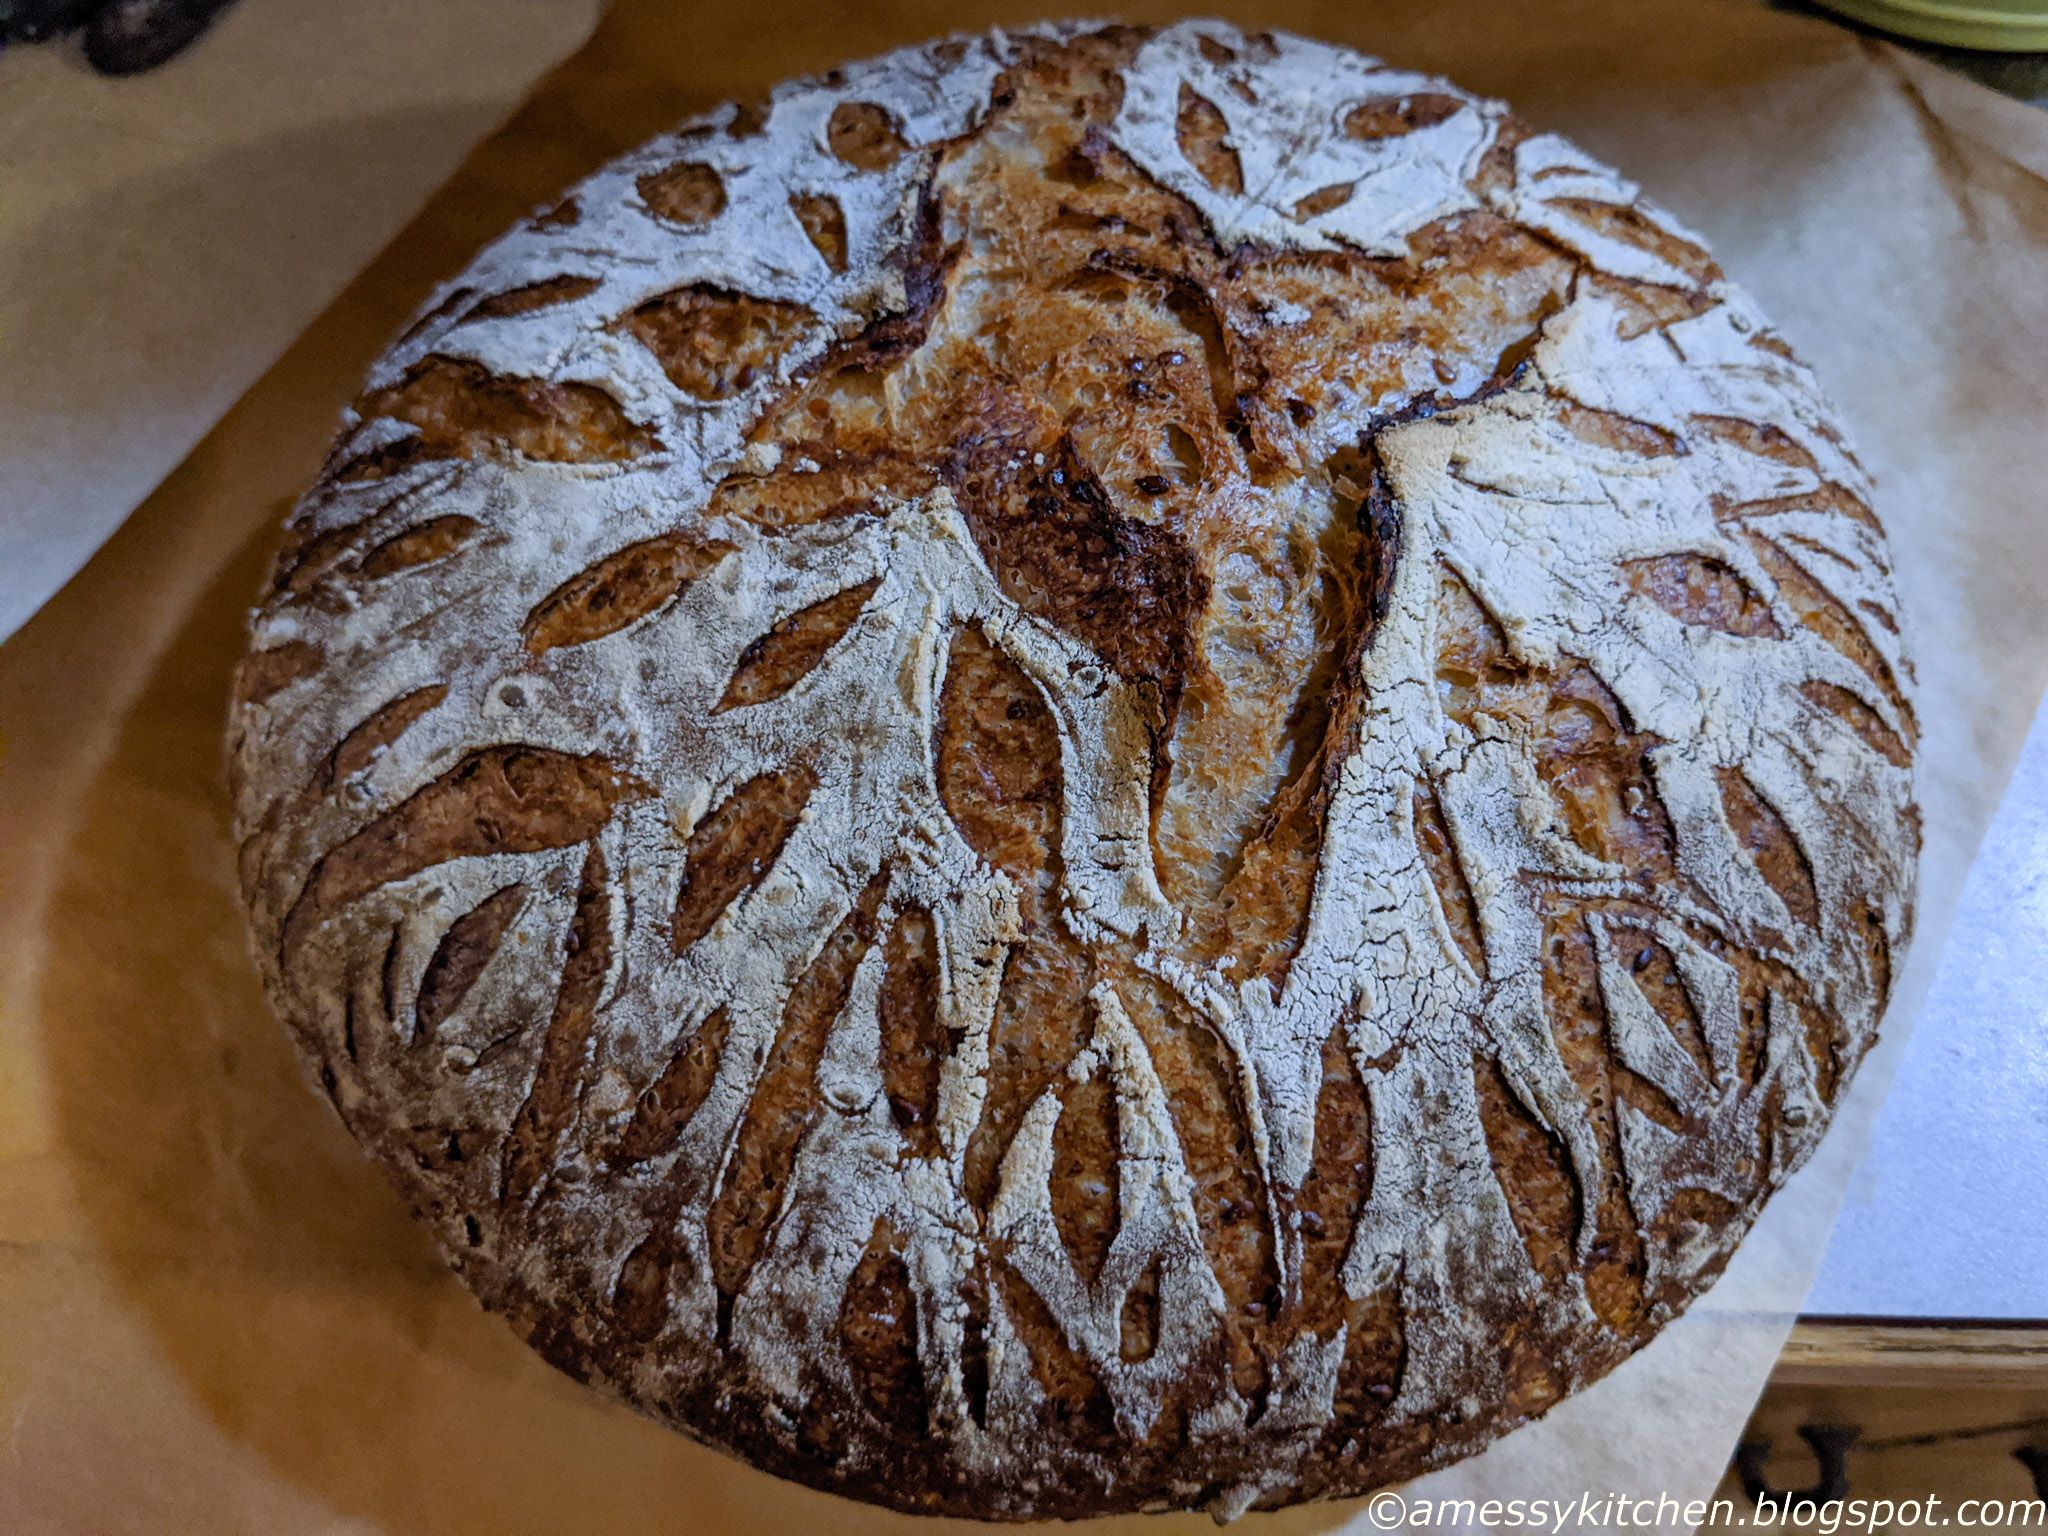
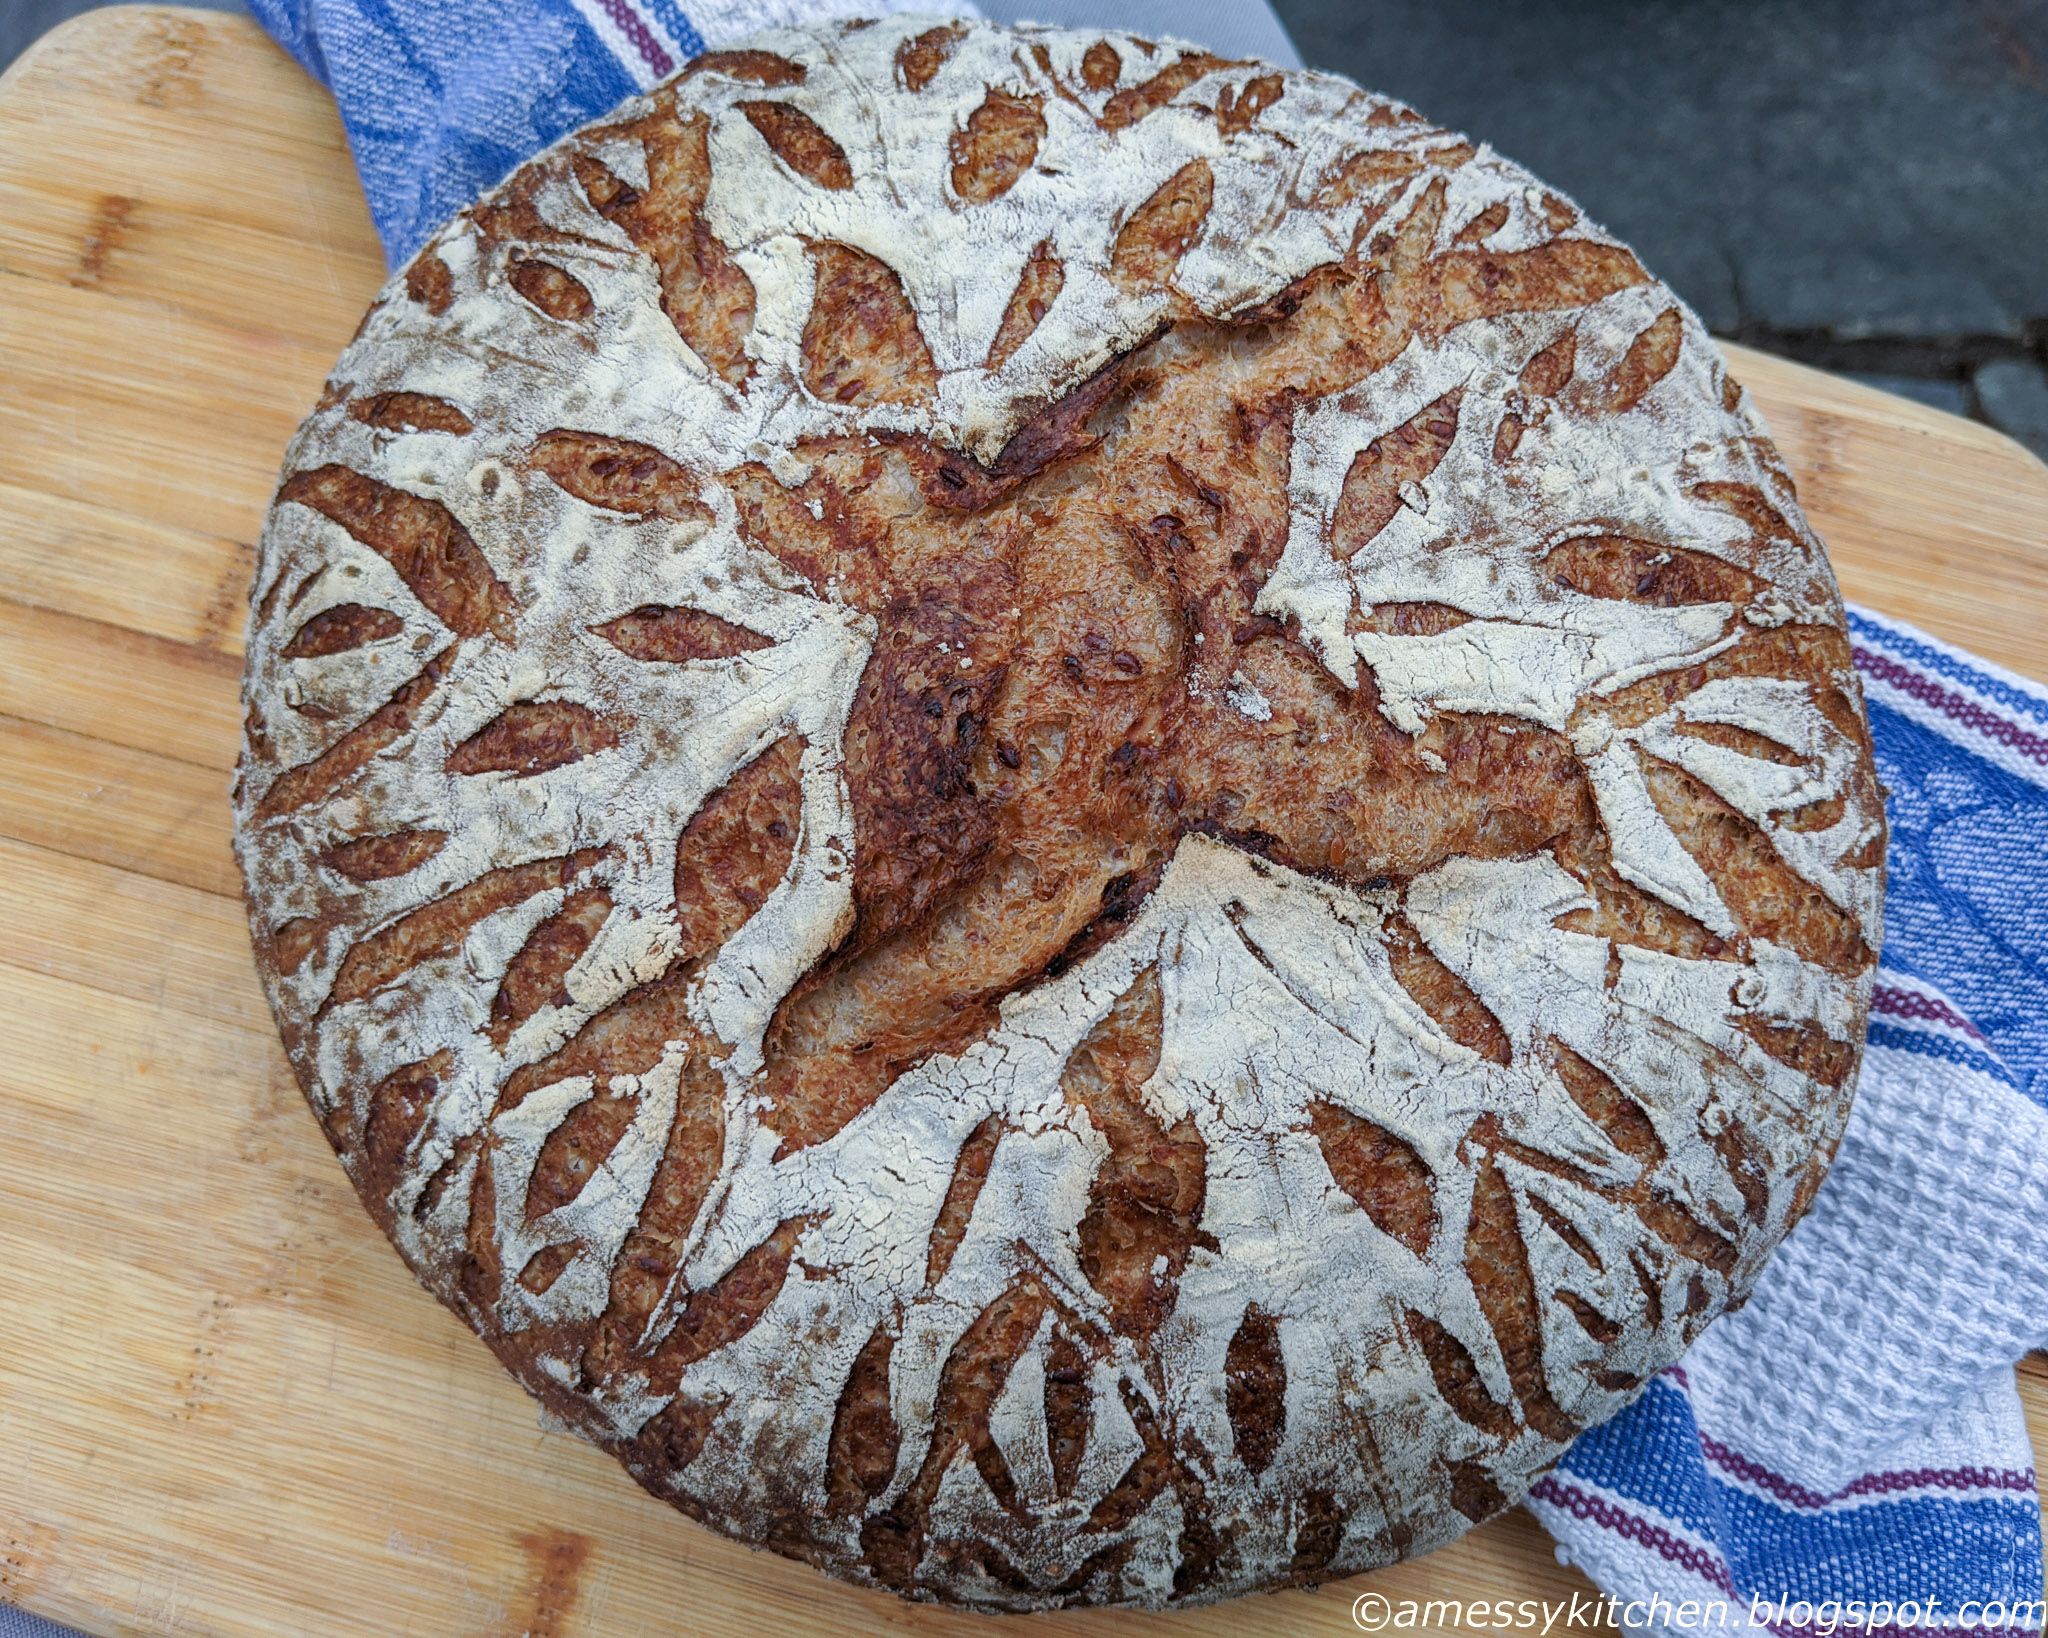
This month, our Bread Baking Bakes is being flexible with the recipe you choose because the point of our challenge this time was to try out some decorative scoring with our loaves!  It's not as difficult as it looks, but perhaps more difficult than you might think.  For my next attempt I will do more planning on the pattern, and change the handle on my lame.  That, or just hold the blade with my fingers.  I got a brand new lame, but the giant nut that holds the blade on kept on marring my dough because there was only about ¼" of exposed blade.  I would prefer at least twice that.  So we will try again!  My hydration was probably a few percentage points lower this time than the last time I made this loaf, which is why I think I had a little tearing on the top score.  I don't mind how it looks though, and that's a matter of personal preference.

The dough that works well for scoring is a high hydration loaf that is proofed in the refrigerator.  Mine was high hydration but I didn't cold proof it, though I did use a lined banneton to help give a stronger crust to the skin of the loaf.  My tips for better results than I got would be to draw out your pattern first and to flour the loaf more than you think you should, especially the edges.  I did use a piece of string to mark out quadrants on my loaf, but was still freestyling a little with my slashing and lost my place once and put a slash in the wrong place.  You can't undo that.  Oops.  I also had edges that did not have as much flour, and those were terrible about catching on my blade, despite it being brand new and razor sharp.  I really appreciated the site Bread Journey, for great tips and videos about decorative scoring.

A beautiful loaf by Bread Journey

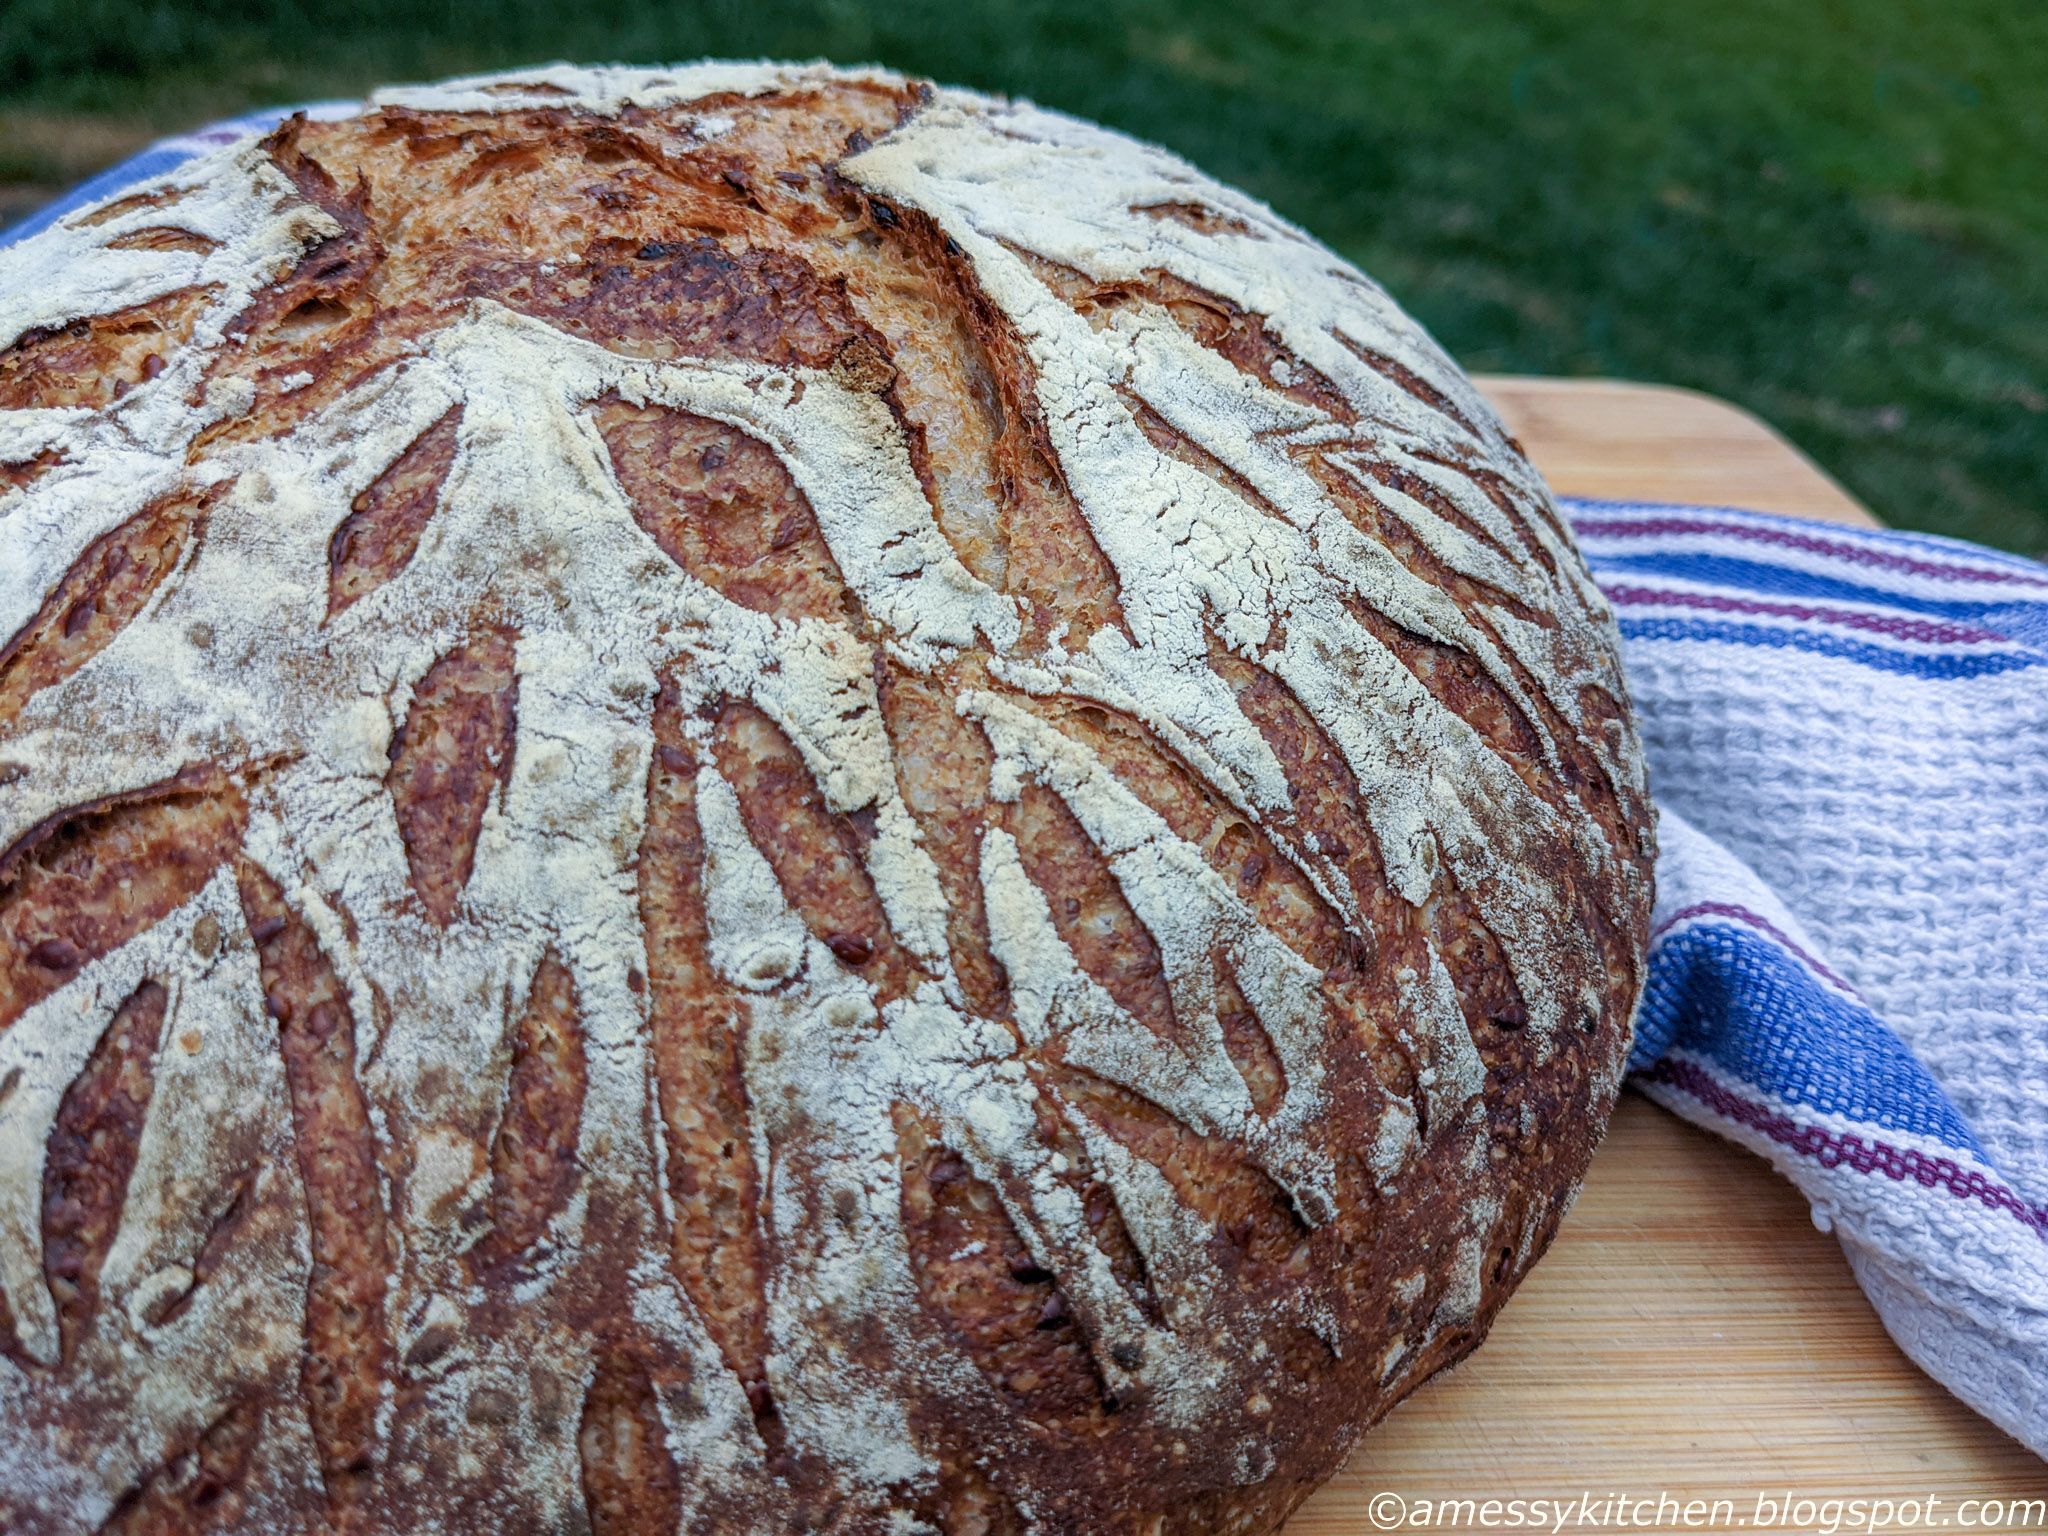
I used my recipe for Golden Flax and Spelt Sourdough, which is a fantastic loaf of flavor.  I took it to my folks and we demolished it.  The flax gives it a brilliant nutty flavor, as well as does the fresh ground spelt, so much so that my mom asked if there was rye in it.  It's a recipe I recommend highly for flavor, despite the sticky nature of the dough.

 
My loaf did considering singing for me this bake!  Well, it kind of hummed for a while, it was a little shy, but the crackles were there.  We would love for you to try out some decorative scoring with any recipe you like and join in as a buddy baker this month!  Of course I must put in a plug for this recipe as a great sourdough to try out, wonderful fresh and toasted, with great flavor and versatility.  Definitely worth making.  You don't have to have a blog to participate, a picture will do.  Just send a picture or your post of your finished loaf to Blog from OUR kitchen by the 29th of this month.   New recipes are posted every month on the 16th.  Check out our Facebook group to see the participants' baking results during that time.
 
 
Golden Flax and Spelt Sourdough Loaf
Yield: 1 Large Round Loaf

50 g (¼ cup) bubbly, active starter
365 g (1½ cups plus 1 tsp) warm water
180 g (about 1¾ cups) whole spelt flour (I used freshly ground sprouted spelt, sifted)
150 g (1¼ cups) bread flour
150 g (1¼ cups) all-purpose flour (I added an extra 120g or 1 cup)
9 g (1½ tsp) fine sea salt
60 g (about ⅓ cup) golden flax seeds
Oil, for coating omitted

A few days before baking, feed your starter until bubbly and active. Store at room temperature until ready to use.   I keep my hydration slightly less than 100% so it lasts well between feedings.

In the bowl of a stand mixer, combine the starter and water together.  Add the flours and salt.  Mix with paddle to combine. Cover and let rest for 45 minutes to 1 hour.
Meanwhile, soak the flax seeds in just enough warm water to cover while the dough is resting.  (Flax seeds must be soaked to prevent dehydrating the dough.)  Rinse and drain well in a fine sieve before using.  They will feel very sticky and gelatinous.
Add the flax seeds to the rough dough.  Knead them into the dough, using the dough hook, until incorporated.  It will take a few minutes.  The dough will be slippery at first, but after a minute or so it will feel less sticky to the touch.

Cover again and let rise at room temperature until double in size. This will take about 6 to 8 hours at 70°F (21°C).  Optional Step: About 30 minutes into the bulk rise, stretch and fold the dough for added structure and height. Repeat this process, about 2 to 3 times, spaced 45 minutes apart.

Turn out the dough onto a lightly oiled surface.  The oil helps to combat any residual stickiness from the flax seeds.  Shape the dough into a round and let rest for 5 to 10 minutes.  (I simply shaped mine directly onto a floured towel, no oil required.)  Line an 8-inch (20-cm) bowl or proofing basket with a towel and sprinkle with flour. (I used a banneton lined with a floured tea towel.)  With floured hands, gently cup the dough and pull it toward you in a circular motion to tighten its shape.  Place the dough into the prepared bowl, seam side up.
Cover dough and let rest until puffy but not fully risen, about 30 minutes to 1 hour.  (55 minutes for me.)  Preheat oven to 450°F (230°C).  Cut a sheet of parchment paper to fit the size of your baking pot.  Or just a rectangle if using a stone and a cover.

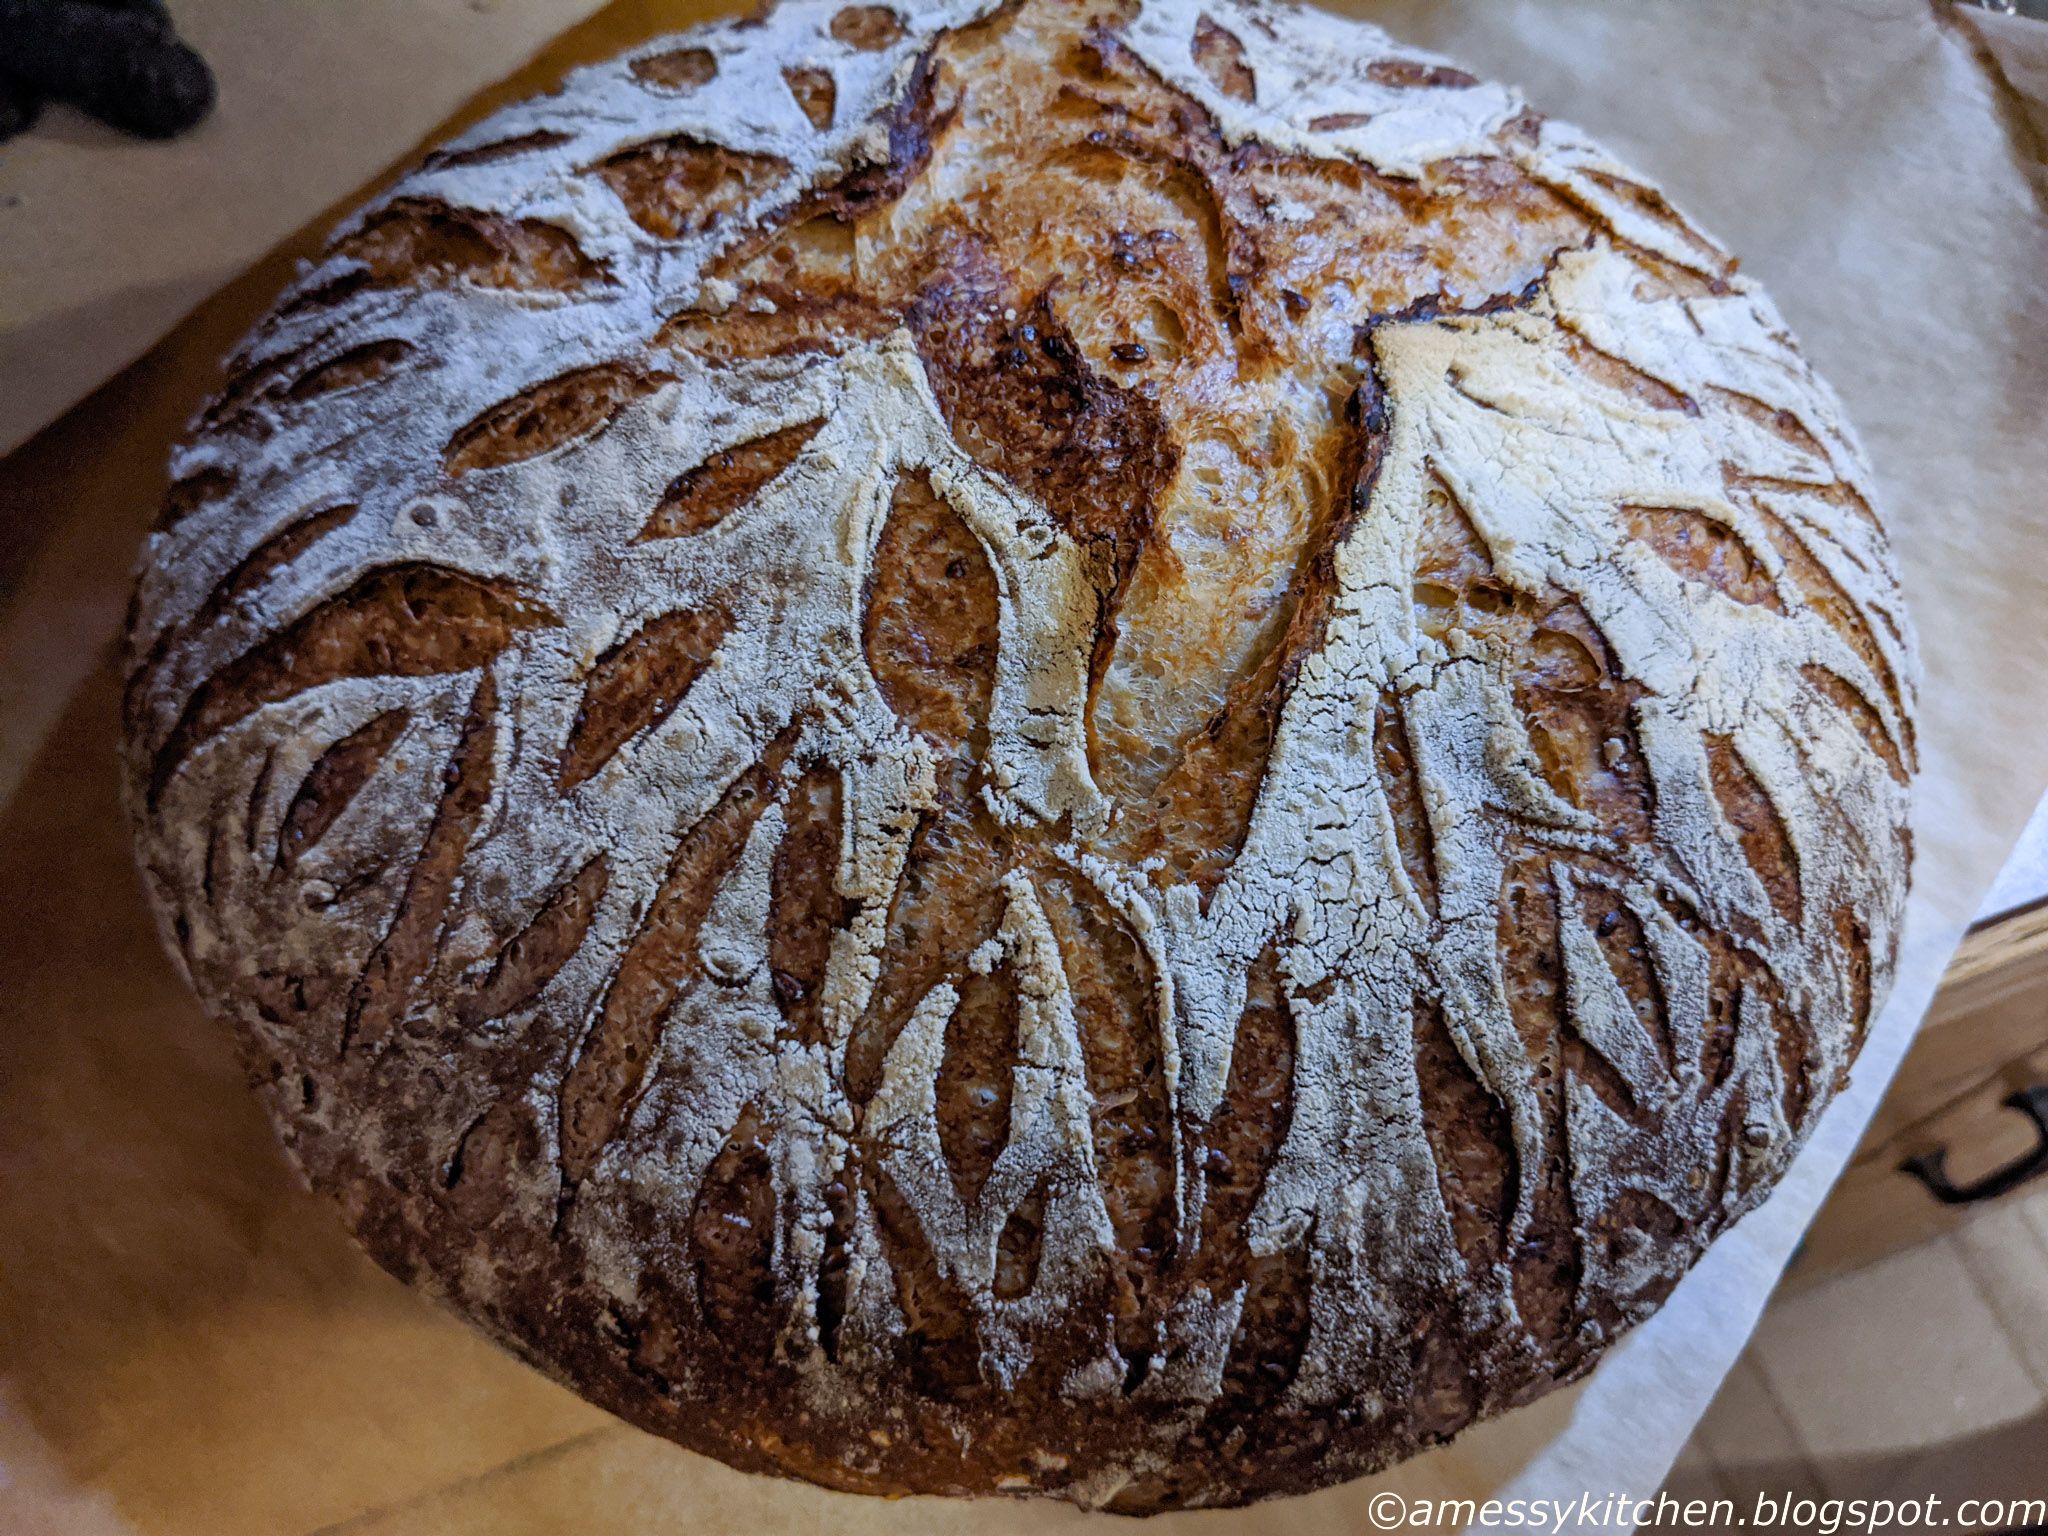
Place the parchment over the dough and invert the bowl to release.  (I inverted onto a pizza peel and parchment.)  Dust the dough liberally with flour and rub the surface gently to coat. (This is the point where you can do some decorative scoring, or follow the more simple instructions for the original loaf.) Poke your finger down into the center of the dough, going about three-quarters of the way through. Then make eight 3-inch (8-cm) cuts around the dough using the tip of a razor blade or knife.  Use the parchment to transfer the dough into the baking pot.  Or use a baking sheet or pizza peel to slide the loaf onto the baking stone and then cover with the roaster.

Bake the dough on the center rack for 20 minutes, covered.  Remove the lid/pan, and continue to bake for another 30 minutes. Lift the bread out of the pot, and finish baking directly on the rack for the last 10 minutes.  (This may not be necessary with the baking stone method, mine did not need the extra 10 minutes and was already at 200ºF internal temp.)  Transfer to a wire rack and cool for 1 hour before slicing.

This loaf is best enjoyed on the same day it is baked. Store at room temperature for 1 to 2 days in a plastic bag.


The rest of the Bread Baking Babes